
Spring Pool Care Guide
Pool Opening Checklist: How to Open Your Pool for Spring
Opening the pool isn't just taking off the cover and jumping in. A good spring opening gets the equipment running, removes winter debris, restores water balance, and catches problems before they follow you into swimming season. Use this checklist to do it in the right order.
Timing Matters
Don't Wait Until the Pool Turns Green
The right opening date depends more on weather than the calendar. Once warmer temperatures become consistent, water conditions become friendlier to algae and less friendly to procrastination.
Good Starting Point
Consider opening once daytime highs are regularly reaching roughly 65–70°F rather than waiting until the first pool party is already on the calendar.
Why Earlier Can Be Easier
Opening before the water becomes very warm gives you a better chance to address debris and chemistry before algae growth becomes a larger cleanup project.
For West Tennessee homeowners
Watch the actual weather rather than relying on one fixed spring date. Warm stretches can arrive early, and waiting several extra weeks after temperatures rise can make the opening process harder than it needs to be.
Timing Matters
Don't Wait Until the Pool Turns Green
The right opening date depends more on weather than the calendar. Once warmer temperatures become consistent, water conditions become friendlier to algae and less friendly to procrastination.
Good Starting Point
Consider opening once daytime highs are regularly reaching roughly 65–70°F rather than waiting until the first pool party is already on the calendar.
Why Earlier Can Be Easier
Opening before the water becomes very warm gives you a better chance to address debris and chemistry before algae growth becomes a larger cleanup project.
For West Tennessee homeowners
Watch the actual weather rather than relying on one fixed spring date. Warm stretches can arrive early, and waiting several extra weeks after temperatures rise can make the opening process harder than it needs to be.
The Quick Version
Your Spring Pool Opening Checklist
If you're coming back to this guide while standing beside the pool, this is the sequence to keep handy.
Step 1
Clean the Cover Before It Comes Off
This is one of those jobs where an extra ten minutes can save you much more work later. Don't turn an entire winter's worth of leaves and dirty cover water into your first pool-cleaning project.
Remove Standing Water
If you're using a solid winter or safety cover, remove pooled rainwater with an appropriate cover pump or other method recommended for your cover.
Remove Leaves & Debris
Sweep or carefully remove leaves, sticks and other material before loosening the cover.
Remove the Cover Carefully
Work slowly so the debris that remains on the cover does not slide into the pool while you're taking it off.
Clean & Dry Before Storage
Rinse the cover, remove remaining dirt and let it dry completely before folding and storing it according to the manufacturer's instructions.
Step 3
Inspect the Equipment Pad Before Startup
Winter weather can expose weak seals, cracked plumbing, loose connections and worn equipment. It's much better to spot those problems before the pump is fully pressurized.
Pump
Inspect the housing, lid, basket, drain plugs and visible seals. Look for cracks, missing components or deterioration.
Filter
Check the pressure gauge, drain assembly and external housing. Clean or service the filter according to the manufacturer before the season if required.
Heater
Inspect for visible damage, nesting debris, corrosion or anything that would make startup questionable. Gas and electrical issues should be handled by qualified professionals.
Plumbing
Look over unions, valves and visible pipework for cracks, loose fittings or signs of freeze damage.
Take your time before startup
A cracked fitting that looks minor while the system is off can become a significant leak once the pump is moving water.
Step 4
Bring the Pool Back to Normal Water Level
Winterization often lowers the water. Before normal circulation can resume, restore the pool to the operating level recommended for your skimmer and equipment.
Too Low
The skimmer can begin drawing air, which can make it difficult to prime the pump and maintain proper circulation.
Too High
A very high water level can reduce effective surface skimming because debris is less likely to enter the skimmer opening properly.
Use your pool's normal operating level
For many pools, that means water somewhere around the middle of the skimmer opening, but the exact position should follow your skimmer and pool manufacturer's recommendations.
Step 5
Restart Circulation and Watch the System Closely
Once the pool is full enough and the equipment is correctly reconnected, restart the circulation system using the startup procedure specified for your pump and filter.
Prime the Pump
Fill and prime the pump as required for your specific model. Never allow a pool pump designed for wet operation to run dry.
Release Trapped Air Safely
If your filter uses a manual air-relief valve, follow the manufacturer procedure to purge trapped air while starting the system.
Check for Leaks
Walk the entire equipment pad after the pump is running. Inspect unions, drain plugs, pump seals, filter connections and visible plumbing.
Watch Filter Pressure
Make sure pressure looks reasonable for the system and that water is returning to the pool with normal flow.
Pressurized equipment deserves respect
Do not loosen clamps, lids, filter components or plumbing while the system is pressurized. Shut the equipment down and follow the manufacturer's depressurization procedure before servicing it.
Step 6
Remove Winter Debris Before You Ask Chemistry to Do Everything
Chemicals aren't a substitute for a net, brush and vacuum. Removing leaves, dirt and sediment reduces the amount of organic material the sanitizer and filter have to deal with.
Skim the Surface
Remove floating leaves, insects and loose debris before they sink.
Brush Walls, Steps & Ledges
Break loose dirt and buildup in areas where winter water may have remained relatively still.
Vacuum the Floor
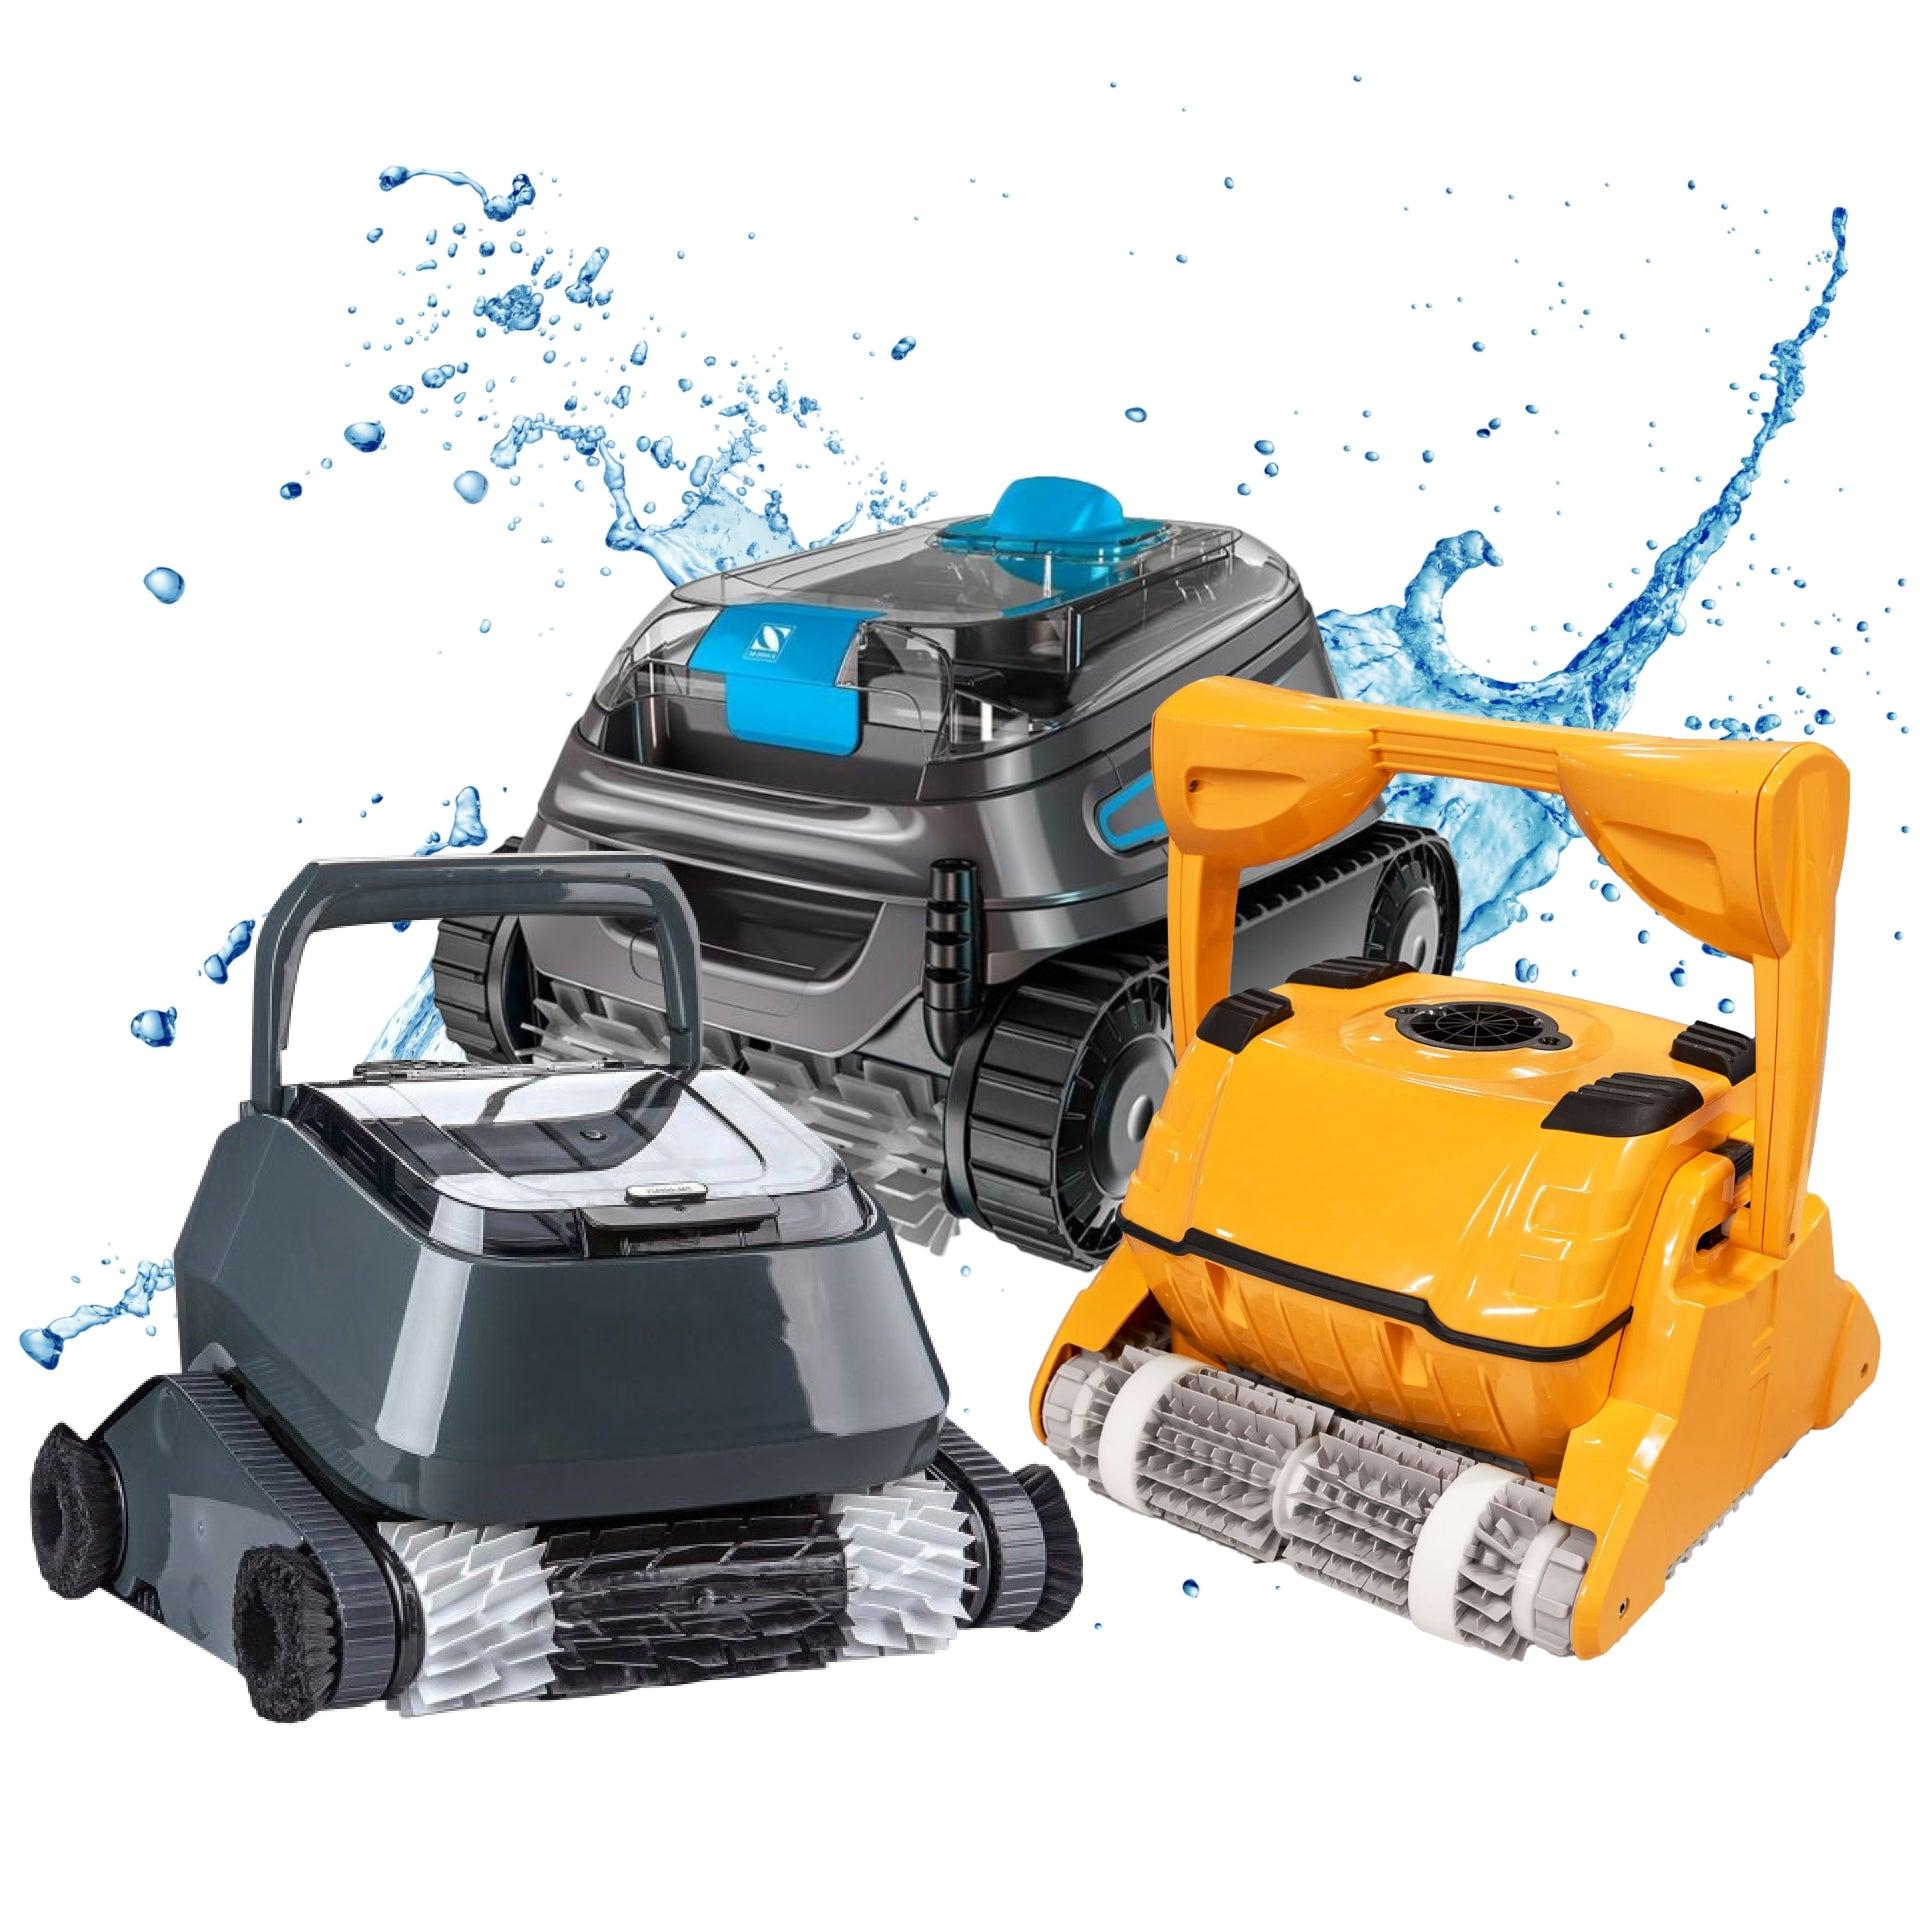
Remove settled debris with a manual or automatic cleaner suited to your pool surface and opening conditions.
Empty Baskets Frequently
Opening day can load skimmer and pump baskets much faster than normal operation. Check them repeatedly while cleaning.
Step 7
Test First — Don't Start Throwing Chemicals at the Water
Opening chemicals should solve measured problems, not compensate for guessing. Give the pool time to circulate, then test before making major water-balance adjustments.
Free Chlorine
Shows how much active chlorine is available for sanitation. Opening conditions may require restoring sanitizer before swimming.
pH
CDC recommends a pH of 7.0–7.8. Poor pH affects sanitizer performance, swimmer comfort and equipment.
Total Alkalinity
Helps stabilize pH. Many pool-care systems adjust alkalinity before fine-tuning pH.
Calcium Hardness
Important for protecting surfaces and equipment from either aggressive water or scale-forming conditions.
Cyanuric Acid
Helps protect chlorine from sunlight but changes the sanitizer level needed for proper disinfection.
Salt Level
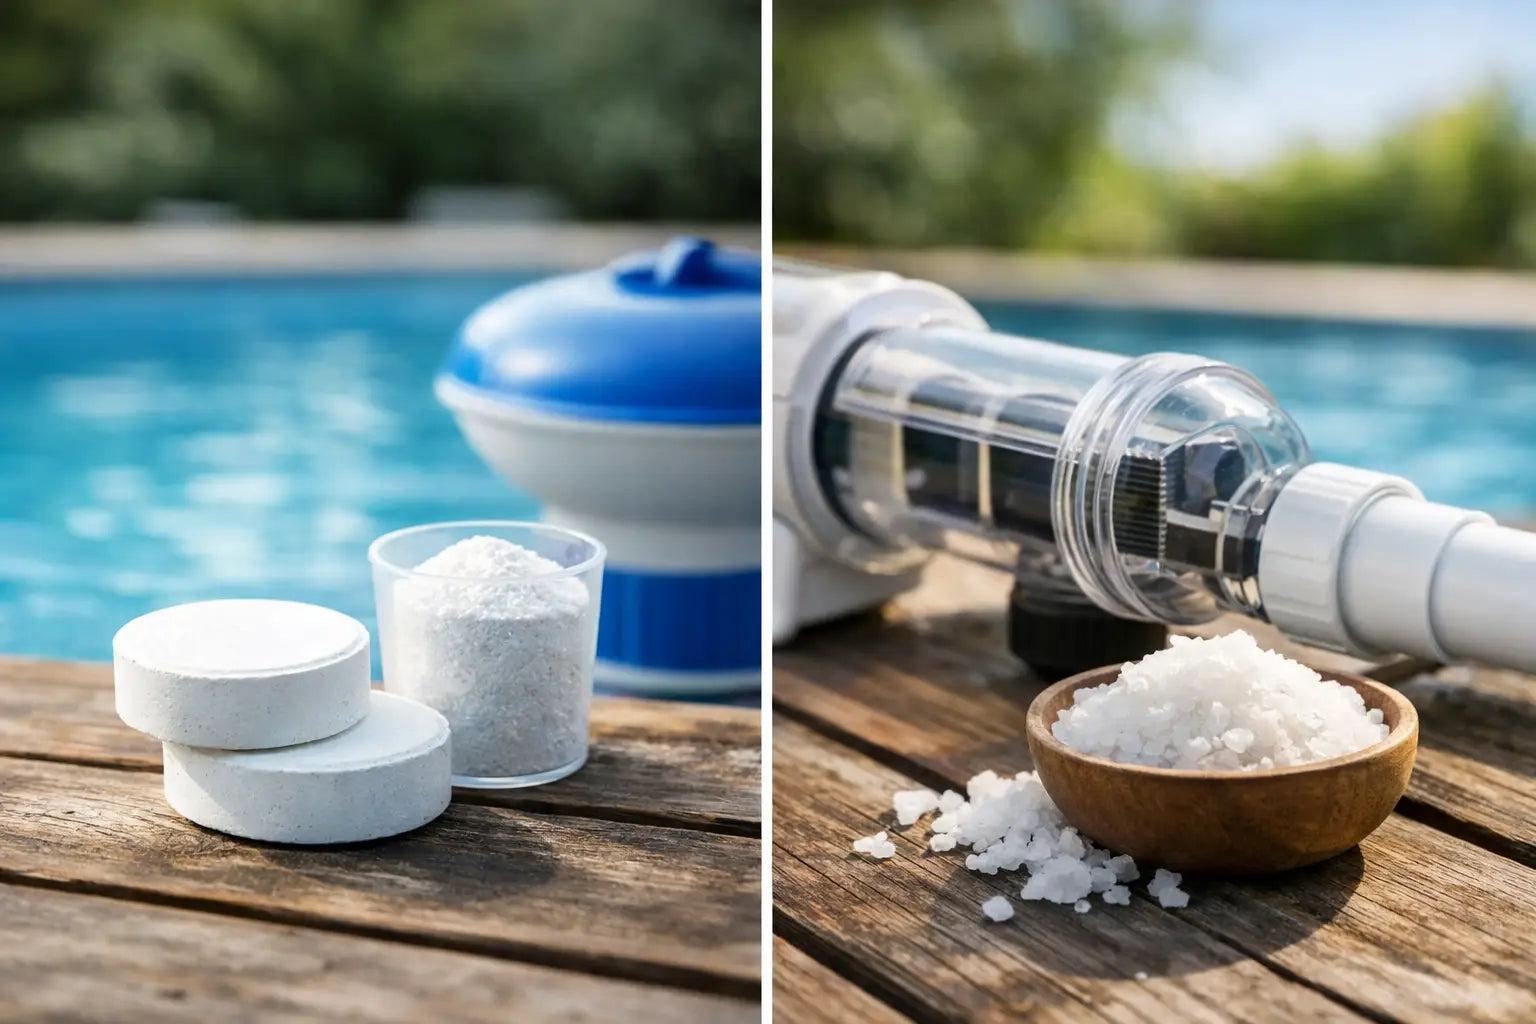
Saltwater pools should verify salinity against the generator manufacturer's specified operating range before normal chlorination.
Step 8
Balance the Water Before Chasing Every Reading at Once
Pool chemistry parameters interact with each other. Making large changes in the wrong order can turn opening day into a game of chemical ping-pong.
Address Total Alkalinity
Alkalinity helps buffer pH, so correcting a significant alkalinity problem first can make the next adjustment more predictable.
Adjust pH
Bring pH into the appropriate operating range before relying on chlorine to work efficiently.
Evaluate Calcium & Stabilizer
Correct calcium hardness and cyanuric acid based on the pool surface, sanitation system and product/manufacturer recommendations.
Restore Sanitizer
Bring the sanitizer level into an appropriate range using products compatible with your pool and according to the product label.
Don't memorize someone else's dose
Pool volume, current test results, chemical concentration and sanitation system determine how much product is appropriate. Use accurate testing plus the actual product label.
Step 9
Opening Often Includes Shock — But Follow the Test & Label
After months under a cover, pool water may need a substantial sanitizer boost. Many opening routines include a chlorine shock or another startup sanitation procedure.
Why It's Used
A startup treatment can help restore chlorine and oxidize contaminants accumulated during the closed season.
Why Dosing Varies
Pool volume, current chlorine level, water condition and product strength all affect how much treatment is appropriate.
Never combine chemicals casually
Follow each product label exactly. Never mix chlorine products with acids or other pool chemicals, and don't assume products with different formulations can be combined safely.
Step 10
Give the Pool Time to Circulate Before Declaring Victory
Opening day stirs up sediment and puts a heavy load on the filter. After cleaning and water treatment, let the circulation system do its job and keep checking the equipment.
Before the First Swim
Clear Water Is Good — Proper Chemistry Is Better
The pool may look inviting before the chemistry is ready. Check the water and make sure treatment products have completed their required circulation or waiting period before swimmers get in.
Don't use your eyes as the test kit
Clear water can still have inadequate sanitizer or poor pH. Always verify the chemistry before opening the pool to swimmers.
Pool Type Differences
Does the Checklist Change for Above-Ground Pools?
The core process is nearly the same: uncover, reconnect, circulate, clean, balance and sanitize. The equipment details are where the opening can differ.
Above-Ground Pools
You may need to reconnect flexible hoses or plumbing, reinstall wall fittings and confirm that the liner, skimmer and return fittings survived winter without damage.
Inground Pools
The system may include additional plumbing zones, automation, heaters, water features, cleaners or multiple return and suction lines that need to be restored to normal operation.
Same goal, different equipment
Follow the manuals for your exact pump, filter, heater, chlorinator and automation system rather than assuming every pool starts the same way.
Avoid These Mistakes
Pool Opening Mistakes That Create Extra Work
Most rough pool openings come from rushing the process, not from the process itself being especially complicated.
Know When to Stop DIYing
Some Opening Problems Deserve a Professional
Removing a cover and brushing a pool are one thing. Electrical faults, gas equipment and cracked circulation systems are another.
Save This for Spring
Complete Pool Opening Checklist
Use this shorter version each spring once you're familiar with the detailed steps above.
The Bottom Line
A Good Pool Opening Starts the Whole Season on Better Footing
The easiest pool opening is usually the one that isn't rushed.
Clean the cover before removing it, reconnect the system carefully,
inspect equipment before startup, restore circulation, physically
clean the pool, and test the water before adding a lineup of chemicals.
Once the pool is circulating and balanced, give the filtration
system time to finish the job and retest before swimmers jump in.
A little patience during opening week can save you from spending
the first month of summer fighting cloudy water, algae,
or equipment problems.
Start the Season Right
Need Help Opening or Maintaining Your Pool?
Compare West Tennessee pool professionals for seasonal openings, cleaning, equipment service and ongoing maintenance, or explore more practical guides for taking care of your pool.



Leave A Comment